
 In our small house, little messes like this, seem like they are BIG messes.
And it just plain, drives me n.u.t.s. I have a little of my dad's OCD in me, I'll admit,
and I like things neat and tidy. I mean, who doesn't?
My sweet daughter has taken to coloring and cutting lately. It's pretty cute.
But she can leave a pretty big mess. And has yet to discover her love
of cleaning, like her mama. And this mama is getting tired of cleaning
up this (above) multiple times a day.
Here's my solution:
 I bought this cute little box at DOLLAR TREE yesterday.
 I love things that are practically free. Even better, free.
But you can't beat $1.
 It was cute and all but I wasn't in LOVE
with the paper on it. Of course, I knew I could dress it up just fine!
I got into my 'stash' of scrapbook paper, and cut pieces of paper to fit all the sides,
including the inside.
 For the scissors, on the inside of the lid, I made a
 couple slits in the paper and put some elastic band
in. I secured it with tape, but right before I
mod-podged it to the box, I put hot-glued on the
elastic so it wouldn't pull out.
I mod-podged everything to the box and
then sealed it with a good coat of mod-podge.
I LOVE mod-podge.
If you don't have a bottle, go get some this
weekend. It will change your "crafting world"!
 So here's where I think I'm so smart. (we'll see)
I only gave my sweet little mess maker a
few crayons, instead of a big bucket. Hopefully
this is easier for her to "maintain a clean workspace". hahaha
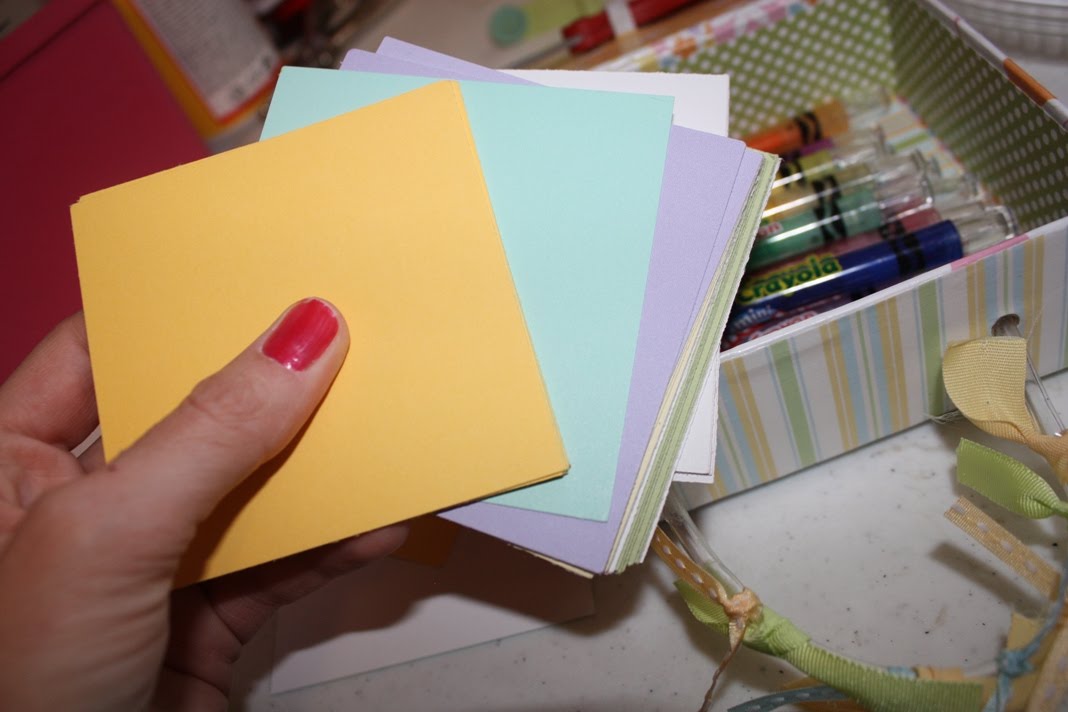 I also cut scrapbook paper into smaller squares
to put in the box.
Maybe my printer paper will last longer. (probably not though)
 See this cute flower I made out of ribbon?
Go here for the tutorial. (you have to watch the whole tutorial and
wait for their 60 second tip) These ladies rock.
And so does hot glue, which is what I used
to stick it on.
 To keep it closed, as the girl is
walking around and moving her work space
from room to room, multiple times....
(She's my little "chick"
that follows her mama around the house.
Except sadly, I can't claim that I have
chicken legs. hahaha. Well I thought it was funny.....)
I used some ribbon, and some double stick Velcro.
I glued a button at the end so her little fingers
could easily work it.
 And there you have it. That's my solution for one mess in my
house. Now I just need to to figure out about a dozen more and
we are good to go!
Enjoy!


